


Now Reading: Making a Game From Concept to Code
-
01
Making a Game From Concept to Code
Do you have a notebook filled with incredible game ideas, worlds, and characters? You can see the game perfectly in your mind, but when you sit down to start, you’re paralyzed. The journey from a brilliant idea to a playable game feels like a vast, foggy landscape with no clear path. It’s an overwhelming feeling that stops many aspiring developers before they even begin. But what if you had a map? What if that complex process was broken down into clear, manageable stages?
This guide is your map. We’re going to demystify the game development process and provide you with a step-by-step framework to follow. You don’t need to be a programming genius or a master artist to start. You just need a passion for games and a willingness to learn one step at a time. Forget the overwhelm; it’s time to turn that amazing concept into functional code.
The Foundation The Concept and Pre-Production Phase
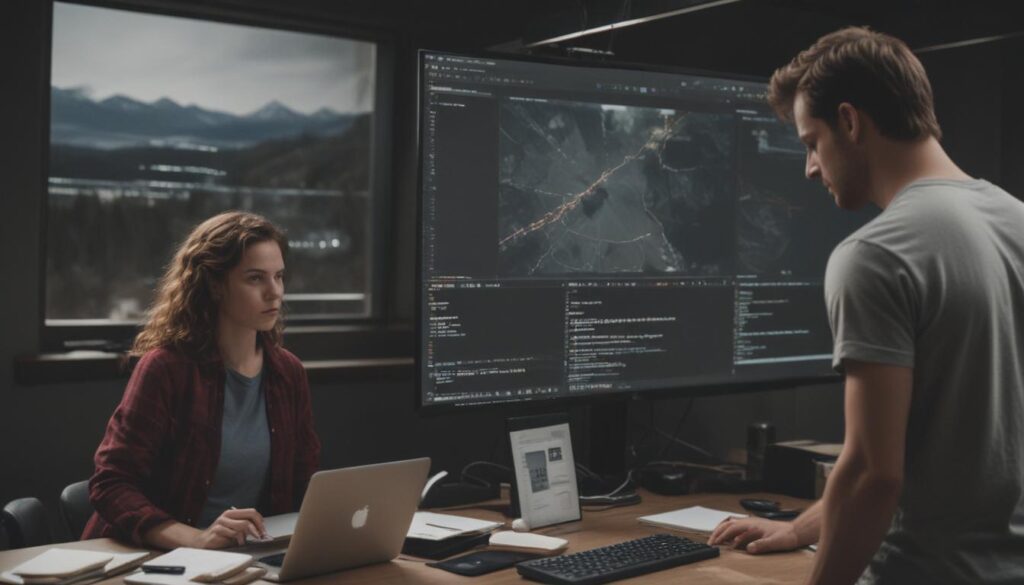
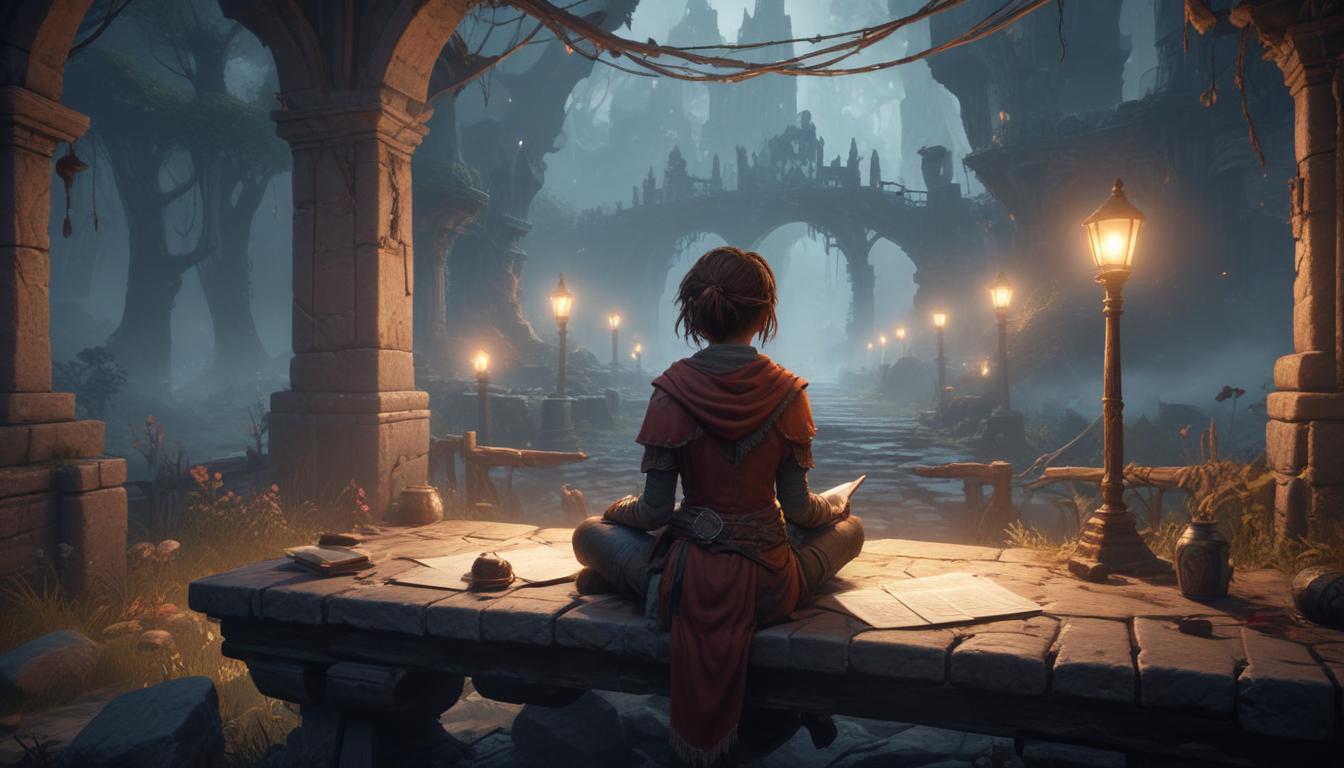
Every great game begins not with code, but with an idea. However, an idea alone isn’t enough to build on. The pre-production phase is where you take that raw concept and forge it into a solid foundation. This is arguably the most important stage, as the decisions you make here will guide the entire project. The goal is to define exactly what you are making before you invest hundreds of hours into building it.
Your first task is to identify the core gameplay loop. This is the primary set of actions the player will repeat over and over. In a platformer, it’s running, jumping, and collecting items. In a puzzle game, it’s observing a problem, forming a hypothesis, and testing a solution. By defining your core loop early, you can focus on making that single experience as fun as possible. You should also write a Game Design Document (GDD). This isn’t a massive, scary document; for a solo developer, it can be just a few pages outlining the game’s story, key mechanics, art style, and target audience. Your GDD is a living blueprint that keeps you on track and prevents your project from spiraling out of control with new, unfocused ideas.
Building the World Prototyping and Production
With a solid plan in hand, you can finally start building. This is the production phase, where your ideas begin to take digital form. It’s an exciting time, but it’s also where you’ll face technical hurdles and design challenges. The key to success here is to work smart and embrace an iterative process. You won’t build the final game in one go; you’ll build small pieces, test them, and refine them continuously.
Choosing Your Game Engine
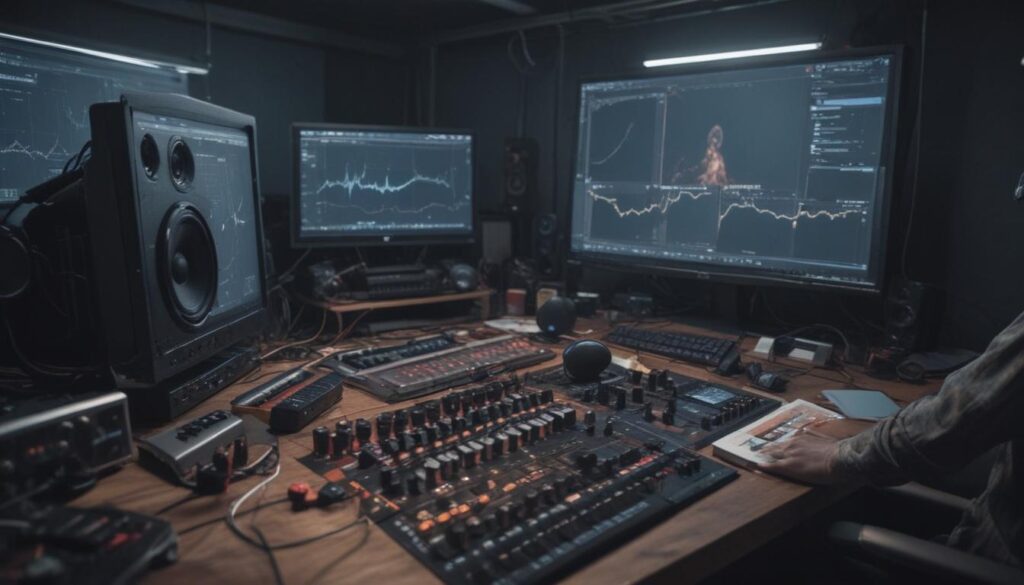
The first major decision in production is selecting your game engine. A game engine is a powerful software framework that provides you with the tools to build a game without starting from scratch. It handles complex tasks like rendering graphics, physics, and input, so you can focus on what makes your game unique. For beginners, a few popular choices stand out. Unity is incredibly versatile, excellent for both 2D and 3D games, and uses the C# programming language. Unreal Engine is known for its cutting-edge graphics and uses a visual scripting system called Blueprints alongside C++. Finally, Godot is a free, open-source engine that’s lightweight and uses its own simple language, GDScript.
Don’t spend weeks agonizing over this choice. The best engine is the one you actually use. Pick one that seems like a good fit for your project, download it, and start working through its beginner tutorials. Your goal is to get comfortable with the environment and learn its core functionalities. Your first project is about learning the process, not creating a masterpiece, so choosing any of these mainstream engines is a great start.
From Gray Boxes to Playable Levels
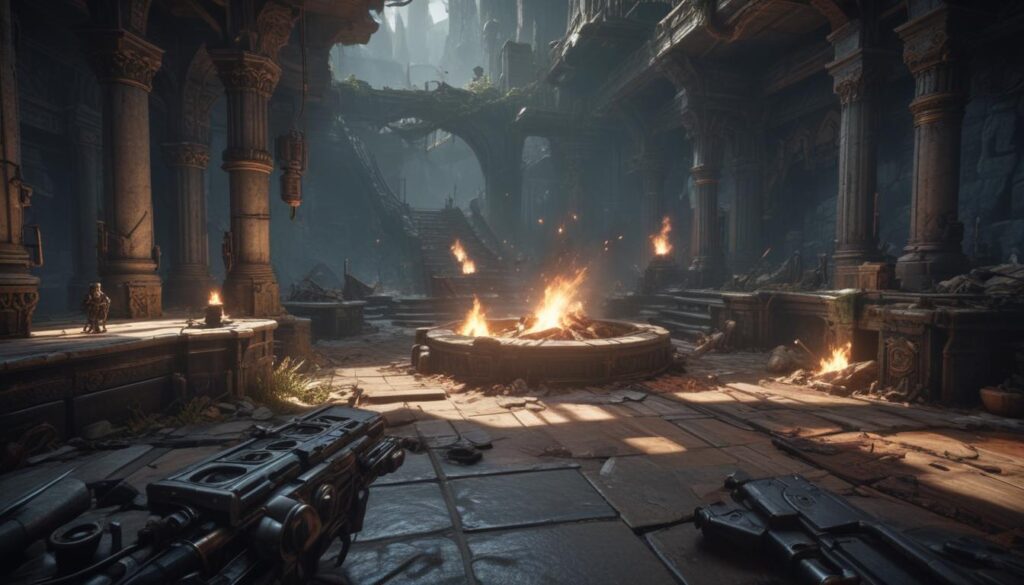
Before you spend any time on beautiful art, you need to know if your game is actually fun. This is where prototyping and “gray-boxing” come in. Gray-boxing is the process of building your game levels and mechanics using only simple, primitive shapes like cubes and spheres. This allows you to test the fundamental gameplay, level layout, character movement, and scale without the distraction of detailed graphics. Is that jump possible? Is this corridor too long? Is this puzzle engaging? You can answer all these questions quickly and make changes easily.
Once your gray-box prototype feels good to play, you can begin replacing the simple shapes with actual game assets. This is an iterative loop you’ll repeat throughout development. Build a mechanic, test it, get feedback, and polish it. Then move on to the next one. This method ensures that your game’s foundation is solid and fun before you commit to the time-consuming process of creating or implementing final art and sound.
Bringing It to Life Art Sound and Polish
With your core mechanics in place and your levels blocked out, it’s time to breathe life into your world. This stage is about the sensory experience—what the player sees, hears, and feels. This is where your game develops its personality and transforms from a functional prototype into an immersive experience. A game can have perfect mechanics, but without compelling presentation, it can fall flat.
You don’t have to be a professional artist or musician to get great assets for your game. While you can certainly learn to create your own pixel art, 3D models, or sound effects, there are vast online marketplaces that can help. Websites like the Unity Asset Store, Itch.io, and the Unreal Marketplace are filled with high-quality, affordable (and sometimes free) assets that you can use in your project. This allows you to focus on what you do best—design and programming—while still achieving a professional look and feel.
Finally, the last 10% of effort is what creates 90% of the feel. This is the “polish” phase. Polish refers to the small details that add impact and satisfaction to the gameplay. It’s the subtle screen shake when an explosion happens, the satisfying “swoosh” sound when a character attacks, the particle effects that burst from a collected coin, and the smooth transitions between menus. These elements might seem minor, but they are critical for making a game feel responsive, dynamic, and enjoyable. Never underestimate the power of good polish; it’s what separates a good game from a great one.